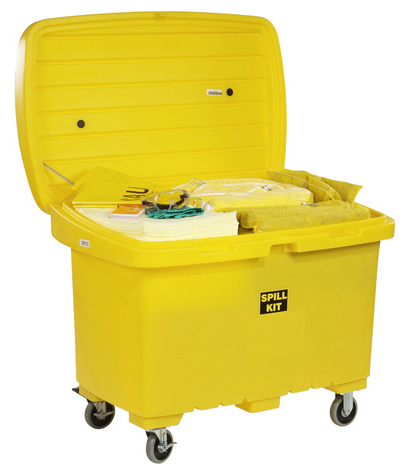
Spill Response Kit Quick Guide
 Isolate the Area
If there is a fire or medical attention is needed, contact your supervisor or call public safety at
911. Warn all people nearby and evacuate area as necessary.
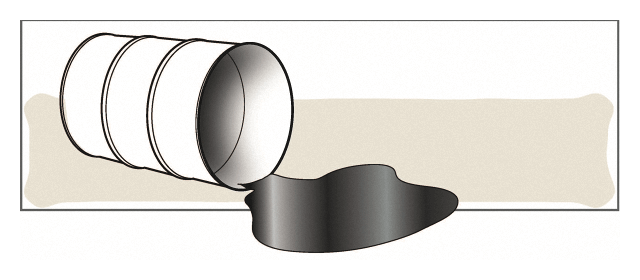
Evaluate the Spill
for toxicity, flammability, reactivity and other hazardous properties of the liquid from a safe distance.
If spill is flammable or volatile, IMMEDIATELY warn everyone, control all potential ignition sources and ventilate the area.
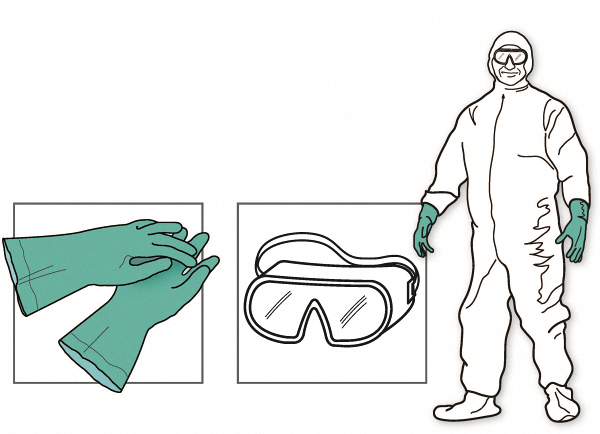
Personal Protective Equipment (PPE)
Use the proper level of PPE based on the above evaluation
Confine the Spill
Stop the spill at the source (repair leaks, turn off source, plug or patch source). Contain the runoff liquids to prevent further contamination.
Clean Up the Spill
Follow the procedures on steps 4-7 below to contain and clean up the spilled liquid(s).
Only properly trained and certified individuals should attempt the cleanup of hazardous, volatile, toxic or unknown liquids.
Important: Have available the following Emergency Numbers: Fire Department, Emergency Response, Spill Response Team Members.
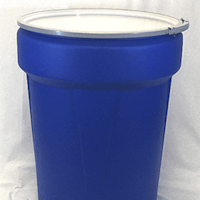
- Disposal of spill debris must be in compliance with local, state and federal regulation. It is your responsibility to meet those requirements.
- It is the user’s responsibility to determine suitability of sorbents to be used on specific liquids.
- Some state and federal regulations exempt spill debris from disposal requirements as to not impede containment and cleanup efforts.
- Further processing of specific liquids may be required prior to disposal.
- Immediately replace used spill kit with a new one or refill used container for future emergency use.
Step 1: Isolate the Area
Identify spilled liquid and verify compatibility of spill cleanup material with the liquid to be absorbed.
Our Universal Spill Kits are safe to use on all liquids except (HF). Do not use if liquid is or contains (HF) hydrofluoric acid.
COMMON LIQUID IDENTIFICATION SOURCES:
- ID label on container, drum, pipe, truck or tank car
- Shipping or load manifest papers
- Bill of lading/packing list
- MSDS sheets
- Visual appearance, color and/or odor
Step 2: Protect Yourself
Open spill kit and put on appropriate Personal Protective Equipment (PPE) before proceeding.
At a minimum it is recommended you use chemical resistant gloves and goggles.
Based on the liquid to be cleaned up, additional PPE may be required like:
- Chemical coveralls
- Chemical resistant overboots
- Faceshield
- Respirators
- Hard hat
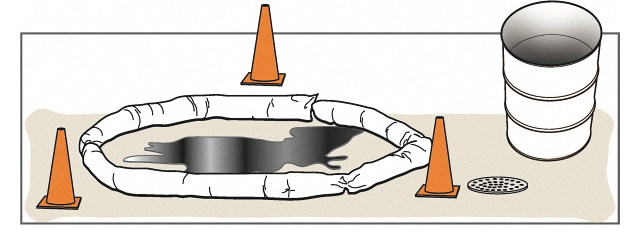
Step 3: Immediately Place Socks
Around the spill to contain the liquid from spreading. Liquids must be prevented from entering floor drains, storm drains or sewers.
Step 4: Cordon Off Spill area
To prevent guests or employees from slipping on the liquids.
Caution triangles, warning cones, empty drums or pails,
trash cans and/or caution tape are commonly used to secure
and cordon off the spill area.
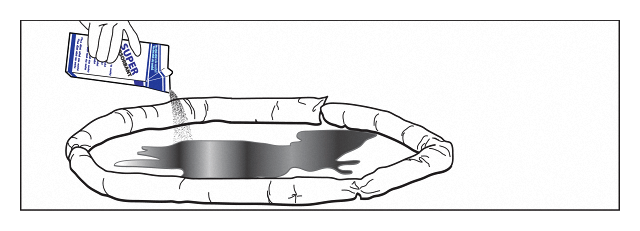
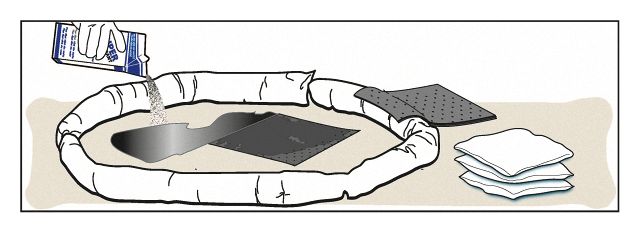
Step 5: Cover The Spill
With sorbent pads, pillows and/or a product like our Super Sorbent particulate to reduce vapors and soak up the liquid.
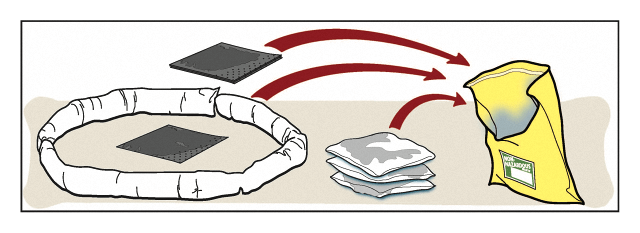
Step 6: Remove Saturated Sorbent
Media and place in temporary disposal bags and label.
If liquid remains, place new pads, pillows or other sorbents on the remainder to soak up any residual liquids.
Place all sorbents into temporary disposal bags.
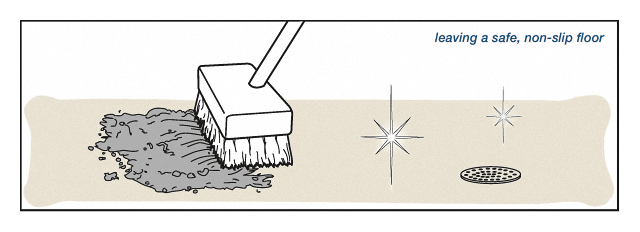
Step 7: Re-Cover Spill Area
With our Safety Sorbent and work in with a stiff broom. Sweep up sorbent and place in a temporary disposal bag.
Repeat this step if floor surface is wet or has a slippery residue. Floor should be completely dry when cleanup is finished.
Properly remove PPE in order and place in disposal bags and seal.
More About Spill Control
Learn More About
These Products:
623.544.4378